How to Install a Dash Cam with GPS and Night Vision for Safe Spring Break Road Trips in 2026
Spring break road trips are a beloved tradition—but they also demand reliable safety equipment to protect you on the road. A high-quality dash cam with GPS and night vision turns your vehicle into a smart, vigilant companion that provides peace of mind, especially for long stretches and night driving. Proper installation ensures optimal footage quality, seamless operation, and reliable parking mode recording, giving you detailed evidence in case of incidents and aiding in navigation or parking scenarios.
In this guide, I’ll walk you through the critical steps to install a top-tier dash cam system tailored for spring break adventures—covering resolution, night vision performance, app usability, and storage management to maximize your footage and overall reliability.
Table of Contents
Why Upgrading to a Dash Cam with GPS & Night Vision Matters
When embarking on spring break road trips, you're covering varied terrains, lighting conditions, and traffic scenarios. A dash cam with 4K resolution provides crisp, detailed footage that can capture license plates, road signs, or minor incidents with clarity essential for insurance claims or legal clarity. Night vision enhances your recording capability after sunset, especially crucial for late-night drives or early morning departures. Additionally, integrated GPS logging records your precise route, speed, and driving behavior—valuable data for navigation, review, or even evidence in any disputes.
Reliable parking mode features are equally important—they keep your vehicle monitored when parked, recording any suspicious activity or accidents. Choosing a model with high dynamic range (HDR) ensures footage remains clear during challenging lighting conditions, such as sudden headlights or shadows. Well-installed, high-quality footage can often distinguish important details that lower-res cameras miss, saving you headaches and ensuring safe travels.
Choosing the Right Dash Cam for Your Trip
Look beyond raw specs and focus on how footage compares in real-world conditions. A 4K dash cam isn’t just about resolution; it should also offer reliable night vision with infrared or advanced HDR, easy app connectivity, and a user-friendly interface. Many models now include rear cameras or optional accessories; ensure compatibility if you want full coverage.
Truck drivers or those towing trailers should consider specialized truck dash cams with wider fields of view and robust build quality, capable of handling vibrations and extended operation. Evaluate storage options—64GB to 256GB SD cards are common, but consider models supporting loop recording and easy SD card access. When selecting a GPS dash cam, verify GPS signal strength, map accuracy, and how well the app integrates with smartphone devices.
Preparation and Necessary Tools
Before installing your dash cam, gather all necessary tools: a clean microfiber cloth, a pry tool for dashboard panels, a fuse tap (if wiring directly to vehicle power), and your camera’s mounting kit. Confirm compatibility—particularly if adding rear or GPS modules—and ensure your vehicle’s power system supports the camera’s current draw.
Clear the installation area—generally the windshield behind the rearview mirror—for optimal unobstructed footage. Check the power source, preferably via the fuse box for permanent installation, or a 12V cigarette lighter socket for temporary setups. It’s also recommended to fully charge your dash cam or ensure it’s properly wired for continuous power, especially if you plan to use parking mode extensively.
Step-by-Step Installation Process
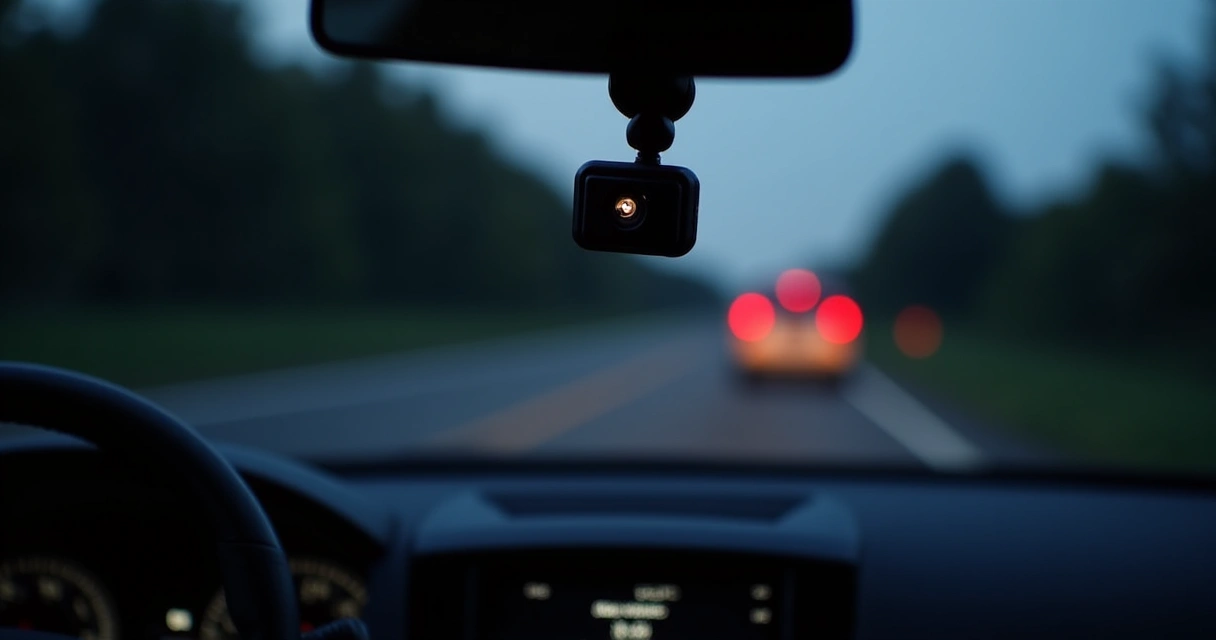
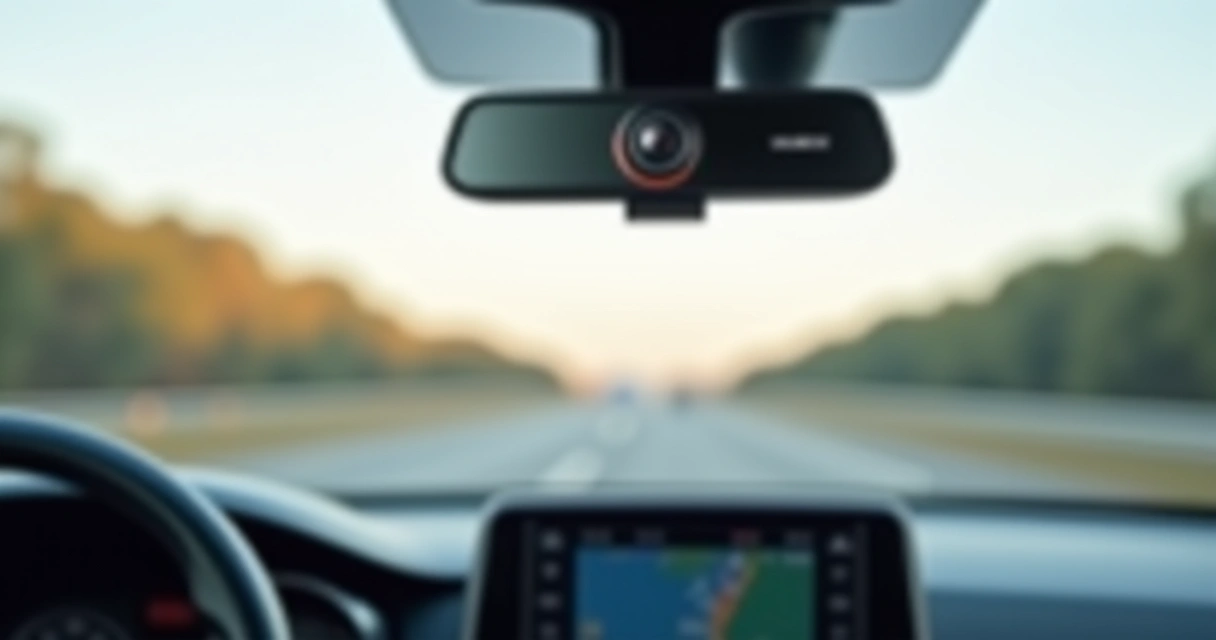
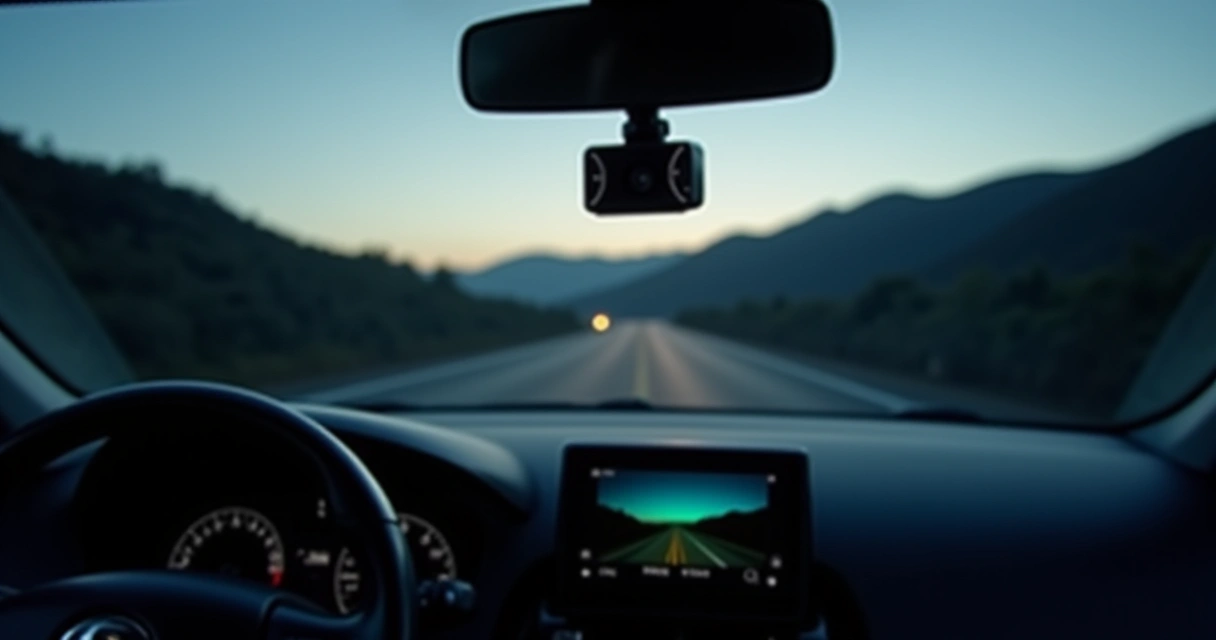
Start by mounting the dash cam on the windshield, ideally behind the rearview mirror to avoid obstruction. Use the provided adhesive or suction mount; ensure it is stable and free of dust. Adjust the camera angle to cover the lane ahead with minimal obstruction. For models with GPS modules, position the GPS antenna where it has a clear view of the sky for signal reliability—usually near the dash cam itself or on the dashboard.
Connect the power cable to your vehicle’s fuse box using a fuse tap if you want a neat, permanent install, or plug into the car’s cigarette lighter socket for flexible setup. Route the cable along the headliner, down the A-pillar, and hidden behind panels to avoid cable clutter. Secure the routes with zip ties or adhesive clips, keeping cables out of sight and preventing distraction or damage.
For rear dash cams, install the camera on your trunk or rear windshield following manufacturer instructions—usually with a separate mounting bracket and cable routing that feeds through the trunk seal or interior panels, connect to the main dash cam via a dedicated cable. Ensure all connections are firm and test the system before finalizing the installation.
Configuring Settings for Optimal Video Quality & Parking Mode
Power on your dash cam and access the menu. Set resolution to 4K for the main camera to ensure high detail, especially for license plate recognition. Enable HDR and night vision enhancements for low-light conditions, testing these features during dusk or nighttime to verify footage quality. Adjust the exposure and dynamic range settings if your footage shows overexposed highlights or lost shadows.
Configure parking mode—usually called "G-sensor" or "park assist"—to activate during motion detection or impacts when parked. Make sure your power supply supports dedicated parking mode operation, often requiring a hardwire kit connecting directly to fuse or battery. Lower the sensitivity to avoid false triggers from passing shadows or ambient vibrations, but keep it high enough to capture valid incidents.
Test your app interface—most modern dash cams offer a smartphone app for live view, playback, and setup adjustments. Confirm that the footage transferred via Wi-Fi or Bluetooth is clear and that GPS logs are correctly marked on the videos. It’s crucial the app’s interface is stable, especially if you plan frequent checks the day before your trip.
Testing & Maintenance Tips
After installation, perform a thorough road test. Drive in various lighting conditions to assess video clarity, night vision performance, and GPS accuracy. Check footage quality directly on the SD card with your laptop to evaluate details, especially license plates or road signs. Verify parking mode activation by parking the vehicle in a shadowed spot and walking past the camera to confirm motion detection.
Regularly review and delete old recordings to prevent storage issues. Keep the SD card refreshed—format it periodically via the dash cam menu after backing up footage. Clean the camera lens with a microfiber cloth to avoid smudges that impair clarity, and periodically inspect the wiring and mounts for signs of wear or loose connections.
For models with advanced apps, ensure firmware is up to date, as manufacturers often release improvements for night vision, dynamic range, or parking mode detection. A well-maintained system guarantees reliability when you need it most during spring break adventures.
Frequently Asked Questions
Can I upgrade my existing dash cam to include GPS and night vision?
Yes, many aftermarket modules or 4K dash cams support GPS and enhanced night vision features. Consult your device’s compatibility chart or consider upgrading to a model with built-in capabilities for seamless integration.
How much storage do I need for a road trip of 1,000 miles?
A 128GB SD card can record approximately 20-24 hours of 4K footage with loop recording enabled. For extended trips, consider 256GB or higher, and regularly back up footage to prevent overwrites.
Will my dash cam record during parking mode without hardwiring?
Most plug-in models with motion detection rely on continuous power from the cigarette lighter socket, which may not support parking mode reliably. For dedicated parking security features, a hardwire kit connected to your fuse box is recommended.
How effective is night vision in low-light conditions?
Modern dash cams with infrared or HDR night vision can capture clear footage in low-light situations, though performance varies by model. 4K cameras with good HDR processing provide the best detail during night drives.
Can I use a dash cam with my truck or towing trailer?
Yes, several truck-specific dash cams feature wider viewing angles, vibration resistance, and longer cable options to accommodate larger vehicles and trailers, ensuring comprehensive coverage during long hauls.
By following these installation and configuration tips, your dash cam system will deliver crystal-clear footage, reliable GPS data, and robust parking security—making your 2026 spring break road trip safer and more enjoyable. Prepare now, and hit the road with confidence!