How to Set Up a Dash Cam with Night Vision and Parking Mode for Safe Spring Break Road Trips in 2026
Spring break road trips are a classic rite of passage, but they also present unique challenges—from unpredictable lighting conditions to the need for reliable parking security. Choosing a dash cam that combines high video quality, robust night vision, and effective parking mode features can make all the difference in capturing crucial footage and protecting your vehicle. In 2026, the latest models with 4K resolution, enhanced night vision, and advanced parking algorithms are more accessible and reliable than ever.
This guide walks you through the essential steps to set up your dash cam for spring break adventures, ensuring you maximize video quality, reliability, and ease of installation. Whether you're tackling busy city streets or scenic mountain drives, proper setup ensures your footage is clear, consistent, and useful when needed most.
Table of Contents
- Choosing the Right Dash Cam with Night Vision and Parking Mode
- Optimal Installation for Video Quality and Reliability
- Configuring Night Vision and Dynamic Range Settings
- Setting Up Parking Mode for 24/7 Security
- Managing Storage, App Integration, and Maintenance
- Real-World Tips for Spring Break Road Trips
Choosing the Right Dash Cam with Night Vision and Parking Mode
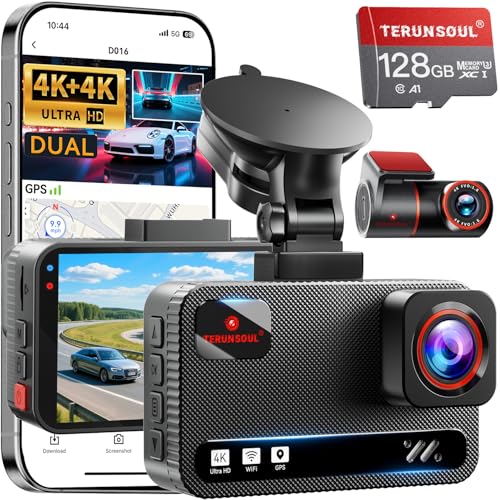
Selecting a dash cam in 2026 requires evaluating video resolution, night vision capabilities, and parking mode features. A 4K dash cam offers exceptional detail, vital for capturing license plates and road signs clearly in both daylight and low-light conditions. Look for models equipped with Sony StarVis or NightHawk sensors, which significantly improve night vision by enhancing sensitivity and reducing noise. Parking mode performance hinges on the camera's motion detection and G-sensor sensitivity, plus support for parking mode-specific features like time-lapse recording and spill-proof power management. Reliable GPS integration ensures location tagging and route tracking, especially helpful in complex trip scenarios. When comparing models, prioritize those with real-world footage reviews that demonstrate true night-time clarity and seamless parking mode operation.Optimal Installation for Video Quality and Reliability
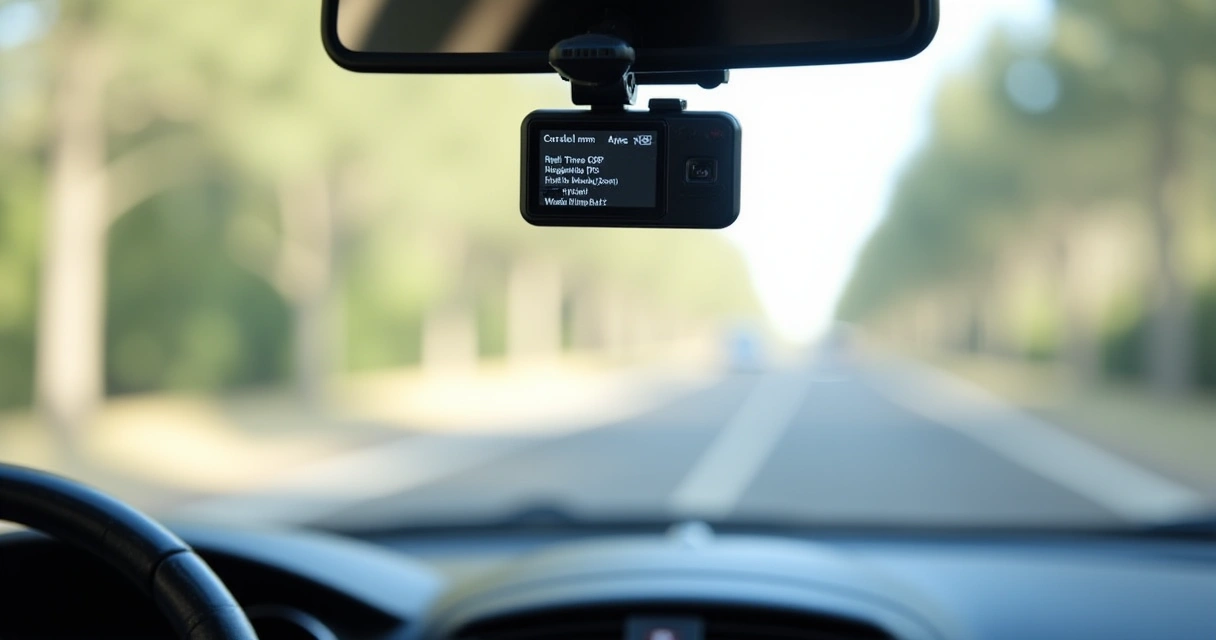
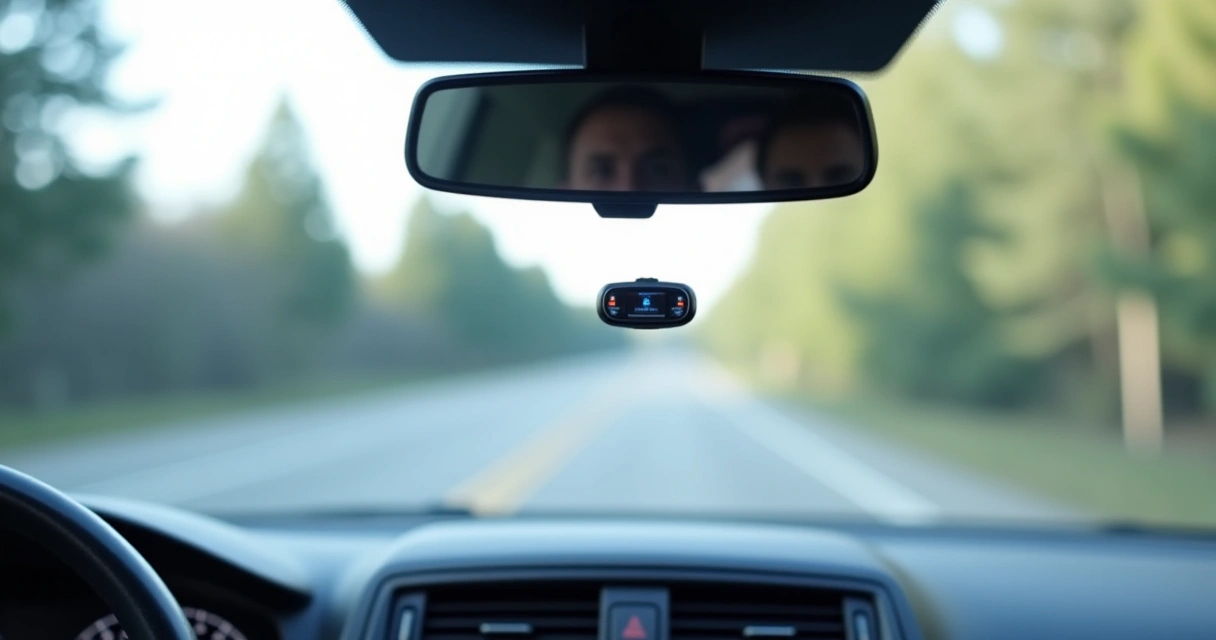
Proper installation directly impacts video quality and the longevity of your dash cam. Mount your device at a slight angle behind the rearview mirror, using the included mount or a high-quality, vibration-resistant suction cup. Ensure the lens is free of obstructions and oriented to maximize the wide-angle view—most dash cams feature a 140 to 170-degree lens, which minimizes blind spots. Secure the power cable along the headliner and door seals to prevent movement or damage. For parking mode functions, connect your dash cam to the vehicle’s permanent power supply or a dedicated hardwire kit—this prevents battery drain and ensures the camera can operate even if the vehicle is off for extended periods. **Tip:** Use a USB power splitter or a 12V car charger with multiple ports for easier management. A clean, flush installation maintains aesthetic appeal and reduces the risk of accidental dislodges during bumpy roads or sudden stops.Configuring Night Vision and Dynamic Range Settings
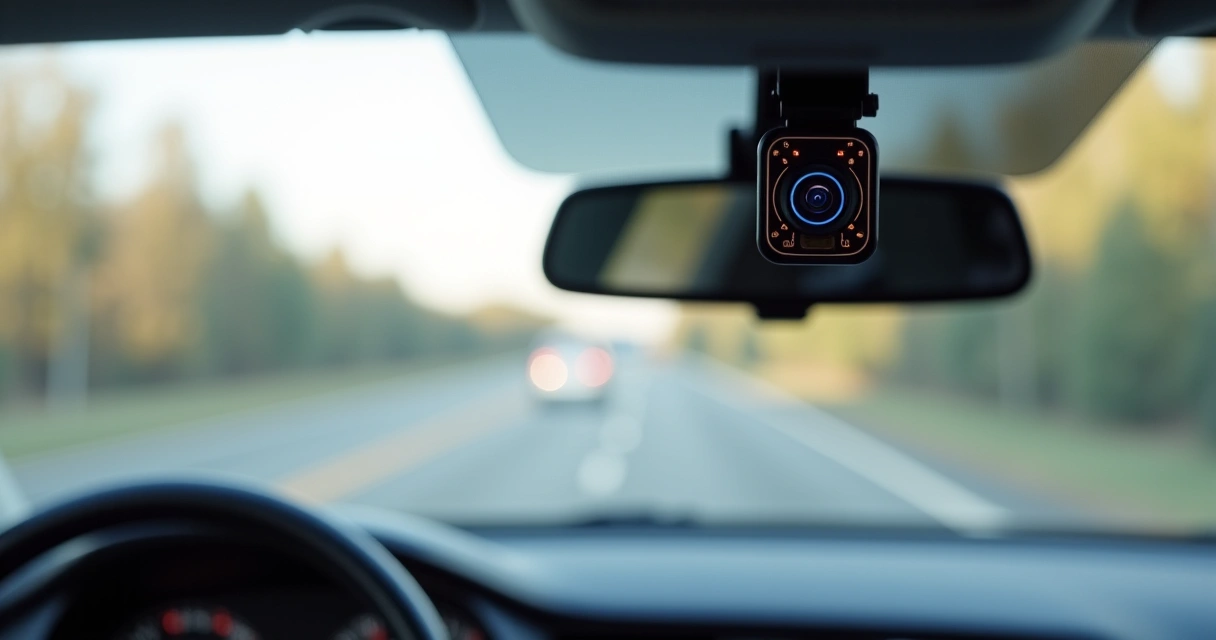
Most high-end dash cams feature specific night vision modes with infrared or enhanced low-light sensors. Enable IR cut filters or switch to 'Night Mode' in your settings—these optimize image contrast and light sensitivity, reducing glare and reflections common in springtime conditions such as rain or fog. Adjust the dynamic range settings—Wide Dynamic Range (WDR) or High Dynamic Range (HDR)—to improve footage quality in high-contrast scenes like dawn, dusk, or tunnel entries. Experts recommend setting dynamic range controls to 'Auto' if available, allowing the camera to adapt seamlessly to changing lighting environments. A practical tip is to test your night vision setup before the trip, recording short clips during dusk or in poorly lit parking lots. Evaluate footage for clarity, especially license plates and road signs. Consider units with an integrated LCD or a preview app to make quick adjustments on the fly.Setting Up Parking Mode for 24/7 Security
Parking mode protects your vehicle during extended stopovers. In 2026, advanced parking mode features include motion detection, impact sensing, and low-power standby. For reliable operation, connect your dash cam to a hardwire kit capable of supplying consistent power, often via the fuse box, to bypass reliance on the vehicle's accessory power, which can be cut when the ignition is off. Configure the sensitivity settings for the G-sensor to avoid false triggers from passing shadows or nearby traffic. For footage quality, activate time-lapse recording options, which reduce storage use and prolong the monitoring window. Make sure your SD card (preferably UHS-II or higher for high-bitrate 4K footage) has adequate capacity—at least 128GB—for extended parking mode coverage without frequent data overwrite. **Tip:** Review your footage periodically during the trip via the dash cam’s app or playback port to ensure parking mode is functioning correctly and footage remains clear during incidents.Managing Storage, App Quality, and Maintenance
A critical aspect of setup is choosing a high-quality SD card that supports sustained high-bitrate recording. UHS Speed Class 3 (U3) cards are recommended for 4K footage. Regularly formatting the card in the dash cam’s own menu prevents corruption and maintains optimal performance. Most modern dash cams come with companion apps—either proprietary or third-party—supporting live view, playback, and firmware updates. Verify that the app has a stable connection via Wi-Fi or Bluetooth, offers clear footage previews, and facilitates easy file transfers. Keep the camera's firmware updated to benefit from bug fixes, performance improvements, and new features like better night vision algorithms. Routine maintenance includes cleaning the lens with a microfiber cloth, inspecting the power connection, and testing parking mode operation prior to trips. A well-maintained setup ensures maximum reliability and footage clarity in high-stakes situations.Real-World Tips for Spring Break Road Trips
Spring break often involves diverse driving conditions—urban traffic, rural backroads, and overnight stays in unfamiliar areas. Use your dash cam’s GPS features to log routes and speeds, aiding post-trip reviews or insurance claims if needed. Keep your power source capped with a reliable, weatherproof hardwire kit to prevent shutdowns caused by battery drain or voltage drops. In low-light conditions typical of spring twilight, rely on your night vision settings and dynamic range adjustments to maintain video clarity. When parked overnight, confirm parking mode is actively recording and the SD card has ample space, especially if you're making multiple stops or detours. Finally, invest in dash cam accessories like lens fixers or vibration dampers to stabilize footage during rough terrain or bumpy roads encountered in national parks or mountain passes. Use car phone mounts and GPS navigators together with your dash cam to keep all critical orientation data synchronized for comprehensive trip documentation.With the right setup focusing on resolution, night vision, and parking security, your spring break adventure in 2026 will be both memorable and well-protected. Take the time to configure your dash cam properly—your future self will thank you for the peace of mind and crisp footage when you need it most.
Frequently Asked Questions
How do I improve my dash cam's night vision quality?
Enable the dedicated night mode, ensure infrared LEDs are active if available, and adjust dynamic range settings to HDR or WDR. Testing different settings before your trip helps find the best configuration for low-light conditions.
What’s the best way to ensure parking mode works reliably?
Hardwire your dash cam to the vehicle’s main power supply using a certified kit, set appropriate G-sensor sensitivity, and verify operation with a test recording. Regularly check that the footage remains clear during parked periods.
How much storage do I need for a multi-day road trip?
For 4K recordings, a 128GB UHS-II SD card generally provides around 8-10 hours of continuous footage at high bitrate. Larger cards or multiple drives help extend coverage without overwriting important clips.
Can I connect a rear dash cam and record both views simultaneously?
Yes, many dual-channel dash cams support simultaneous front and rear recording with synchronized footage. Ensure your system has sufficient storage and power supply for continuous recording.
Which accessories improve dash cam reliability during rough roads?
Vibration dampers, lens stabilizers, and secure mounts prevent motion blur. Hardwire kits with surge protection and weatherproof cables ensure consistent power and operation in diverse conditions.
How do I update my dash cam firmware easily?
Download the latest firmware from the manufacturer’s website, transfer it via SD card or app, and follow the on-screen instructions. Regular updates improve night vision, parking detection, and overall stability.
By carefully selecting and configuring your dash cam with advanced night vision and parking features, you're setting yourself up for safer, more confident spring break travels in 2026. Take these practical steps now to ensure high-quality footage, reliable operation, and maximum peace of mind on the road.