How to Install a 4K Dash Cam with GPS for Beginners in 2026
In 2026,_dash cam technology continues to evolve, offering sharper video, smarter features, and improved reliability. Installing a 4K dash cam with GPS elevates your vehicle’s safety and security—providing ultra-high-definition footage, precise location data, and robust parking mode capabilities. Whether you’re a daily commuter, carreer driver, or trucker, mastering the installation process ensures you get the best footage for accident evidence and enhanced driving awareness.
Correct installation isn’t just about mounting hardware—it’s about optimizing video quality, minimizing blind spots, and ensuring reliable operation under various conditions. Let’s walk through the step-by-step process, with practical tips based on real-world use in 2026’s demanding driving environments.
Table of Contents
Understanding Your 4K Dash Cam with GPS
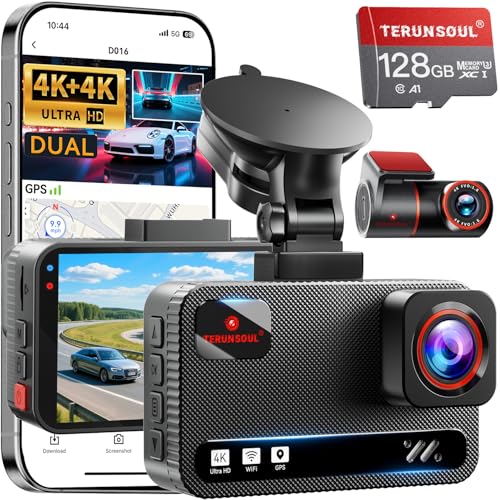
Before starting the installation, it’s crucial to understand the key features of your 4K dash cam with GPS. Modern units offer outstanding resolution—sharp enough to capture license plates and fine details, especially during daylight. Night vision in 2026 models has improved significantly, utilizing large aperture lenses and advanced IR capabilities, producing footage with minimal noise and good dynamic range even in low-light conditions.
The built-in GPS provides precise location, speed data, and route tracking, which can be invaluable during insurance claims. Choose a model with a reliable app that allows for straightforward footage review, firmware updates, and settings configuration. Video quality in actual recorded footage should be crisp, with minimal compression artifacts; look for a cam with a dedicated sensor and quality processing chips for best results.
Preparing Your Vehicle for Installation
Preparation involves ensuring your vehicle’s interior and exterior are ready. Clear the dashboard area to provide an unobstructed view. Make sure your vehicle’s power system can support the dash cam—most models recommend dedicated power sources to prevent voltage fluctuations. If installing a rear dash cam or parking mode feature, assess your vehicle’s wiring harnesses and available spare ports.
It’s also wise to update your vehicle’s firmware (if applicable) and read the dash cam manual thoroughly. For trucks or larger vehicles, plan your wiring route carefully to avoid sharp bends and heat sources that could damage cables over time.
Choosing the Right Mounting Location
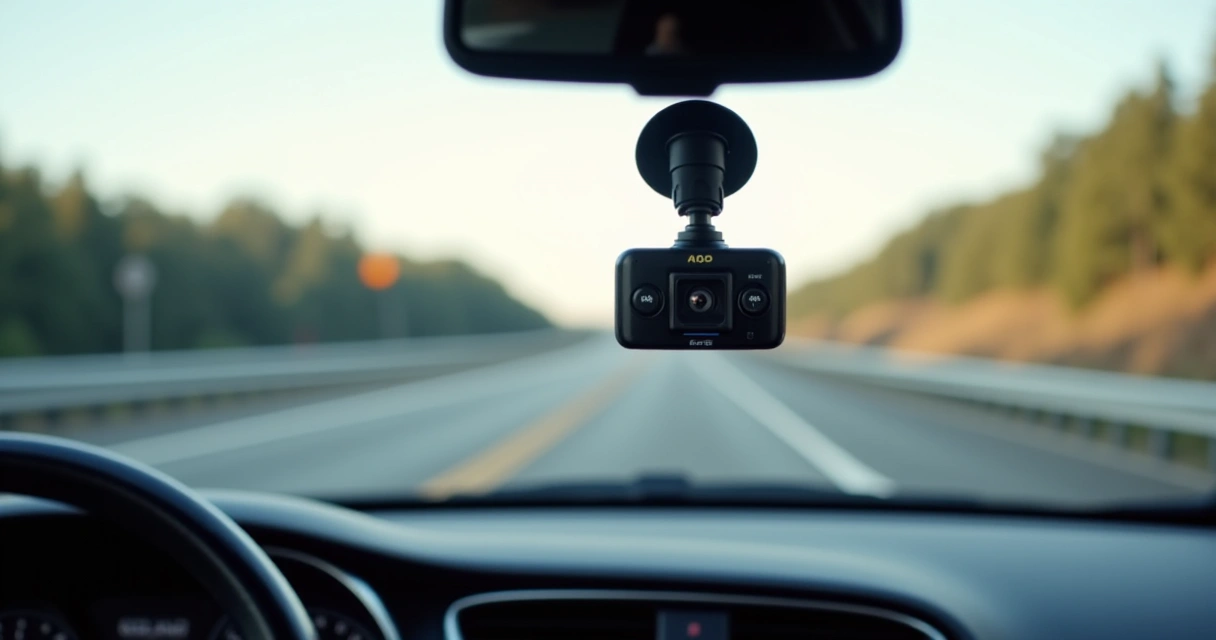
The primary camera should be mounted behind the rearview mirror on the windshield’s centerline, about 1-2 inches below the mirror. This position offers an unobstructed, wide field of view, capturing lane changes, signage, and license plates. If you’re installing a rear dash cam, position it at the top center of the rear window, ensuring it doesn’t obstruct visibility or get blocked by interior reflections.
Ensure the camera lens is level, and avoid mounting near airbags or vents that could interfere with Wi-Fi or GPS signals. When choosing locations, remember that dirt, glare, and extreme temperatures can affect video clarity—use weather-resistant mounts and covers if needed.
Installed Hardware and Wiring
Wiring is critical for reliable parking mode operation and GPS signal stability. Depending on your vehicle, you may use a hardwire kit or the included cigarette lighter adapter. Hardwiring allows your dash cam to draw power directly from vehicle’s fuse box, enabling continuous operation even when parked.
Route the cables along the headliner, A-pillars, and under trim panels to keep wires hidden and prevent interference with airbags or airbags deployment zones. Use cable clips for secure routing and weatherproof the connections if exposed to the elements. For the GPS antenna, place it unobstructed near the windshield rearview mirror to maximize signal strength.
Configuring the Dash Cam for Optimal Video & GPS Performance
Once installed, power on your dash cam and access the settings menu via the app or built-in interface. Set the video resolution to 4K (2160p) for maximum detail, and enable high dynamic range (HDR) mode for contrasting lighting scenes. Night vision and low-light enhancements should be activated for night driving, especially if driving in poorly lit areas.
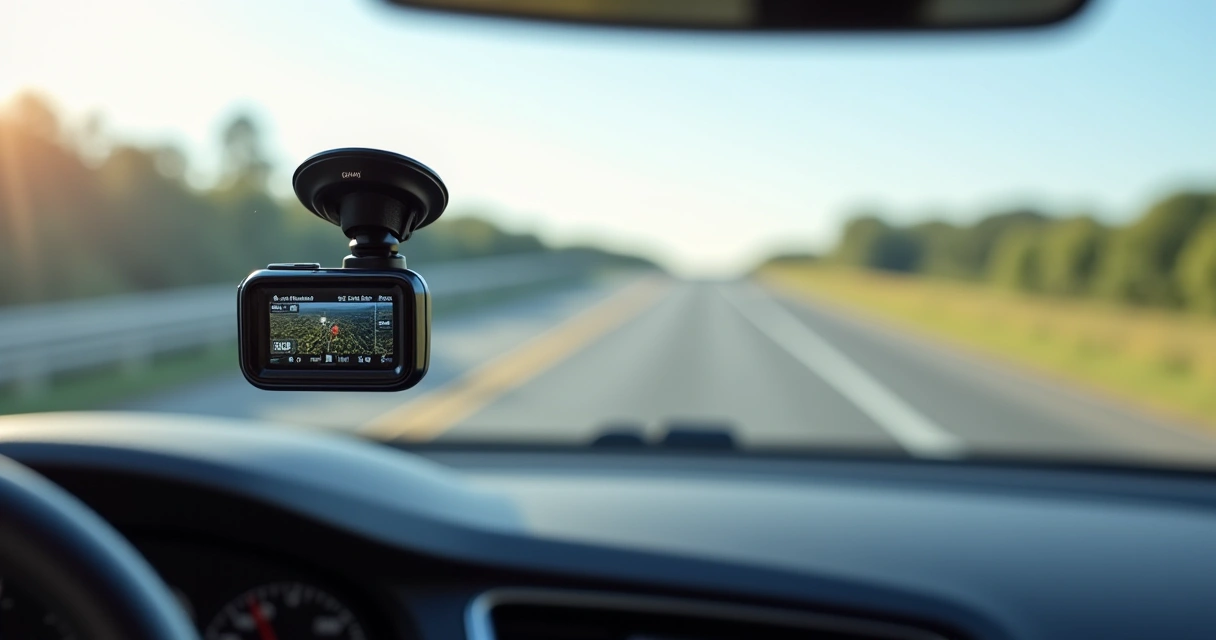
Configure GPS settings to record speed, location, and route data in sync with the video timeline. Ensure loop recording is enabled with a capacity that suits your typical driving distances—at least 128GB storage for 4K footage, but 256GB or higher is recommended for long trips or parking mode recordings. Enable parking mode with motion detection, and verify that the power supply sustains operation without draining your vehicle’s battery excessively.
Testing, Maintenance, and Usage Tips
Prior to hitting the road, perform a comprehensive test — review live footage, check GPS signal accuracy, and ensure footage records correctly during parking mode. Confirm that all cables are secure and there are no loose connections. Use the app to test file transfer and footage playback quality, paying attention to night scenes to verify low-light performance.
Routine maintenance involves clearing the lens of dust and smudges, checking wiring integrity, and keeping the memory card free of unnecessary files. For vehicles with parking mode, periodically check the power setup to prevent battery drain. A reliable OBD2 scanner can be used to monitor your vehicle’s electrical health, ensuring your dash cam remains operational.
Frequently Asked Questions
Can I install a 4K dash cam myself?
Yes, with basic tools and careful planning, most DIY enthusiasts can install a 4K dash cam, especially with detailed manuals and tutorials specific to your model. Just ensure safety and proper wiring techniques.
How much storage do I need for 4K footage?
4K footage consumes roughly 3-4GB per hour. A 128GB card provides approximately 30-40 hours of continuous recording, but for extended longest recordings and parking mode, a 256GB or larger card is recommended.
Will parking mode drain my battery?
Parking mode consumes power depending on activation and settings. Hardwired setups with low power consumption circuits are designed to minimize drain. Always monitor your battery health if parking mode is used extensively.
Is the GPS signal reliable inside tunnels or urban canyons?
In dense urban environments or tunnels, GPS signals can weaken or drop temporarily. The latest models use multi-constellation support (GPS, GLONASS, BeiDou) to improve accuracy and maintain signal in challenging areas.
How does video quality compare in real-world conditions?
In real-world footage, 4K cameras produce crisp, clear images with excellent license plate readability during the day. Night performance has improved significantly with HDR and IR sensors, but low-light conditions may still pose challenges compared to daylight footage.
Equipped with a high-quality 4K dash cam with GPS, your vehicle gains a surveillance upgrade that is both practical and future-proof. Proper installation, attention to detail, and routine maintenance ensure you maximize video clarity, reliability, and valuable data recording. Embark on your installation with confidence—your upgraded driving security awaits.